Step 1 – Set Connectivity of Aramex in the Integration Hub
- Choose the SAP Business One SLD to provide the connection between SAP Business One System Id and Aramex Id.
Note
By default, the solution displays all the SAP Business One SLDs available in SLD Category selected during customer creation.
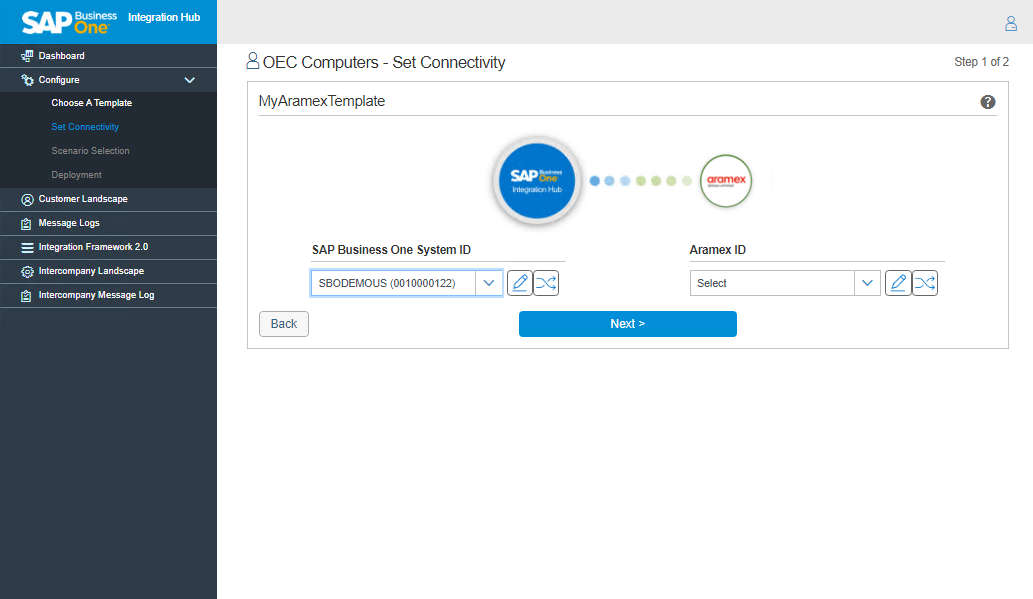
- To add a new SLD or edit existing SAP Business One SLD under SAP Business One System Id area, choose
Add / Edit button.
The SAP Business One Connection Details window contains the following fields:
Field Name
Description
SLD Category
Displays the SLD Category selected during customer creation. This field is read only.
System Name
SAP Business One Server
License Server
Enter License Server details. i.e. Server Name or IP Address and port number of the SAP Business One License Server.
The default port is 30000.
SLD Server
Database Name
Database Type
Database User
Database Password
Database Port
Enter the port for database.
Username
Password
Enter a valid password for B1i user of SAP Business One.
Language
Select the language from the list of languages.
Is Trust
Select True or False. The default value for this field is False. To use a trusted connection, choose True from the dropdown list.
JcoPath
Enter path for jco library. Example of Installation path of JCO: C:\Program Files (x86)\SAP\SAP Business One DI API\JCO\LIB
DI ProxyHost
DI ProxyPort
The default value of DI Proxy Port is 2099.
Proxy Host
The proxy host is defined in a multi-instance scenario. If the B1i server connects to the SAP Business One server through a proxy server then, enter the address of the proxy server in this field.
Proxy Port
Enter the proxy port in this field.
- Enter the valid data and choose the Submit button. An SAP Business One SLD is created.
Choose the Test Connection
icon to test the connection between the SAP Business One System Id in Integration Hub and the SAP Business One System Landscape Directory.
If the connection is successful, a success message appears “Test Connection Successful”. If the connection is unsuccessful, a failure message appears “Test Connection Failed”. Please provide the correct credentials.
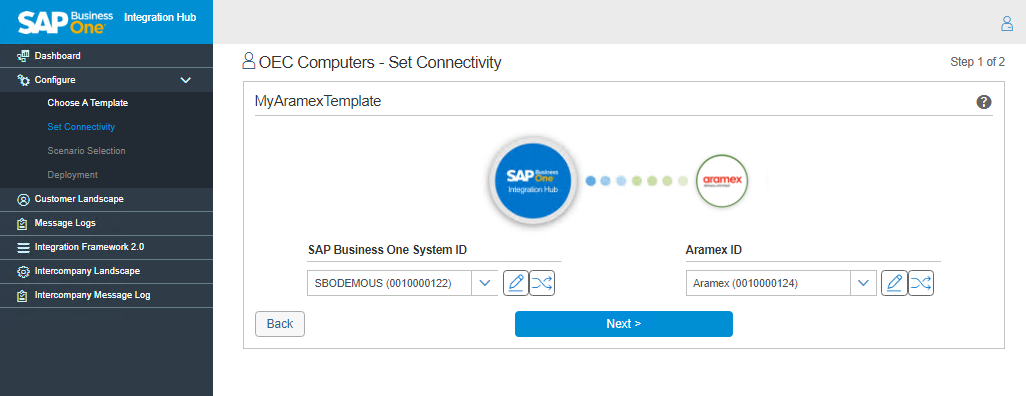
- To add / edit Aramex instance SLD under Aramex Id area, choose the
Aramex Connection Details window appears.
The Aramex Connection Details window contains the following fields:
Field Name
Description
SLD Category
Displays the SLD Category selected during customer creation. This field is read only.
System Name
Environment
Select from the Test or Production environment.
Username
Enter the Site Id provided by Aramex
Password
Enter the password for the login to Aramex site.
Account Number
Enter the Aramex Account number provided by Aramex
Account Pin
Enter the Account Pin
Account Entity
Enter the Account Entity
Country Code
Enter Country code
- Provide the valid information in the fields and choose the Submit button. SLD for Aramex is created.
- Choose the Test Connection
If the connection is successful, a success message appears “Test Connection Successful”.
If the connection is unsuccessful, a failure message appears “Test Connection Failed”.
- Choose the Next button to proceed to Step2.
Configuration Summary
- The Configuration summary displays the Date and time for Template Selection and Set Connectivity steps.
Next Step: Step 2 – Deployment of Aramex in the Integration Hub
Related Articles
Aramex Integration with SAP Business One
Aramex provide customized logistics solutions anywhere in the world effectively and reach more businesses and consumers regionally and globally. Aramex is an international express, mail delivery and logistics services company. The integration ...Step 2 – Deployment of Aramex in the Integration Hub
1. To deploy the solution, choose the Deploy Now button. The Integration Hub starts deploying the solution. 2. The Integration Hub displays the Deployment Results whether the deployment is successful or failed. The checkbox in the Deployment Results ...Setting up Aramex in Integration Hub
The following are the steps to setup Aramex in Administration Console: Add New Customer. Refer to section Add New Customer in the Knowledge Article. Select the Aramex template to integrate. Upon selecting the template, a message “Let’s ...Setup in SAP Business One for Aramex in the Integration Hub
In the SAP Business One Main Menu, choose Administration → Integration Hub → Application Deployment Status. The Deployment Status field should display 'Active', indicating that the feature is deployed in the Integration Hub. If the status displays ...Freight Quote Retrieval in Aramex in the Integration Hub
Freight Quote helps in getting a list of all the shipping services and rates based on the package’s specification. The Freight Quote functionality in SAP Business One is available in Packing Slip window of Delivery Document only. Prerequisite The ...