Step 2 – Deployment of SendGrid in the Integration Hub
- To deploy the solution, choose the Deploy Now button.
- The application prompts you to provide the license details. For more information, refer to the Assigning the Integration Hub licenses knowledge Article
- The Integration Hub displays the Deployment Results whether the deployment is successful or failed. The checkbox in the Deployment Results window displays status of each deployment stage.
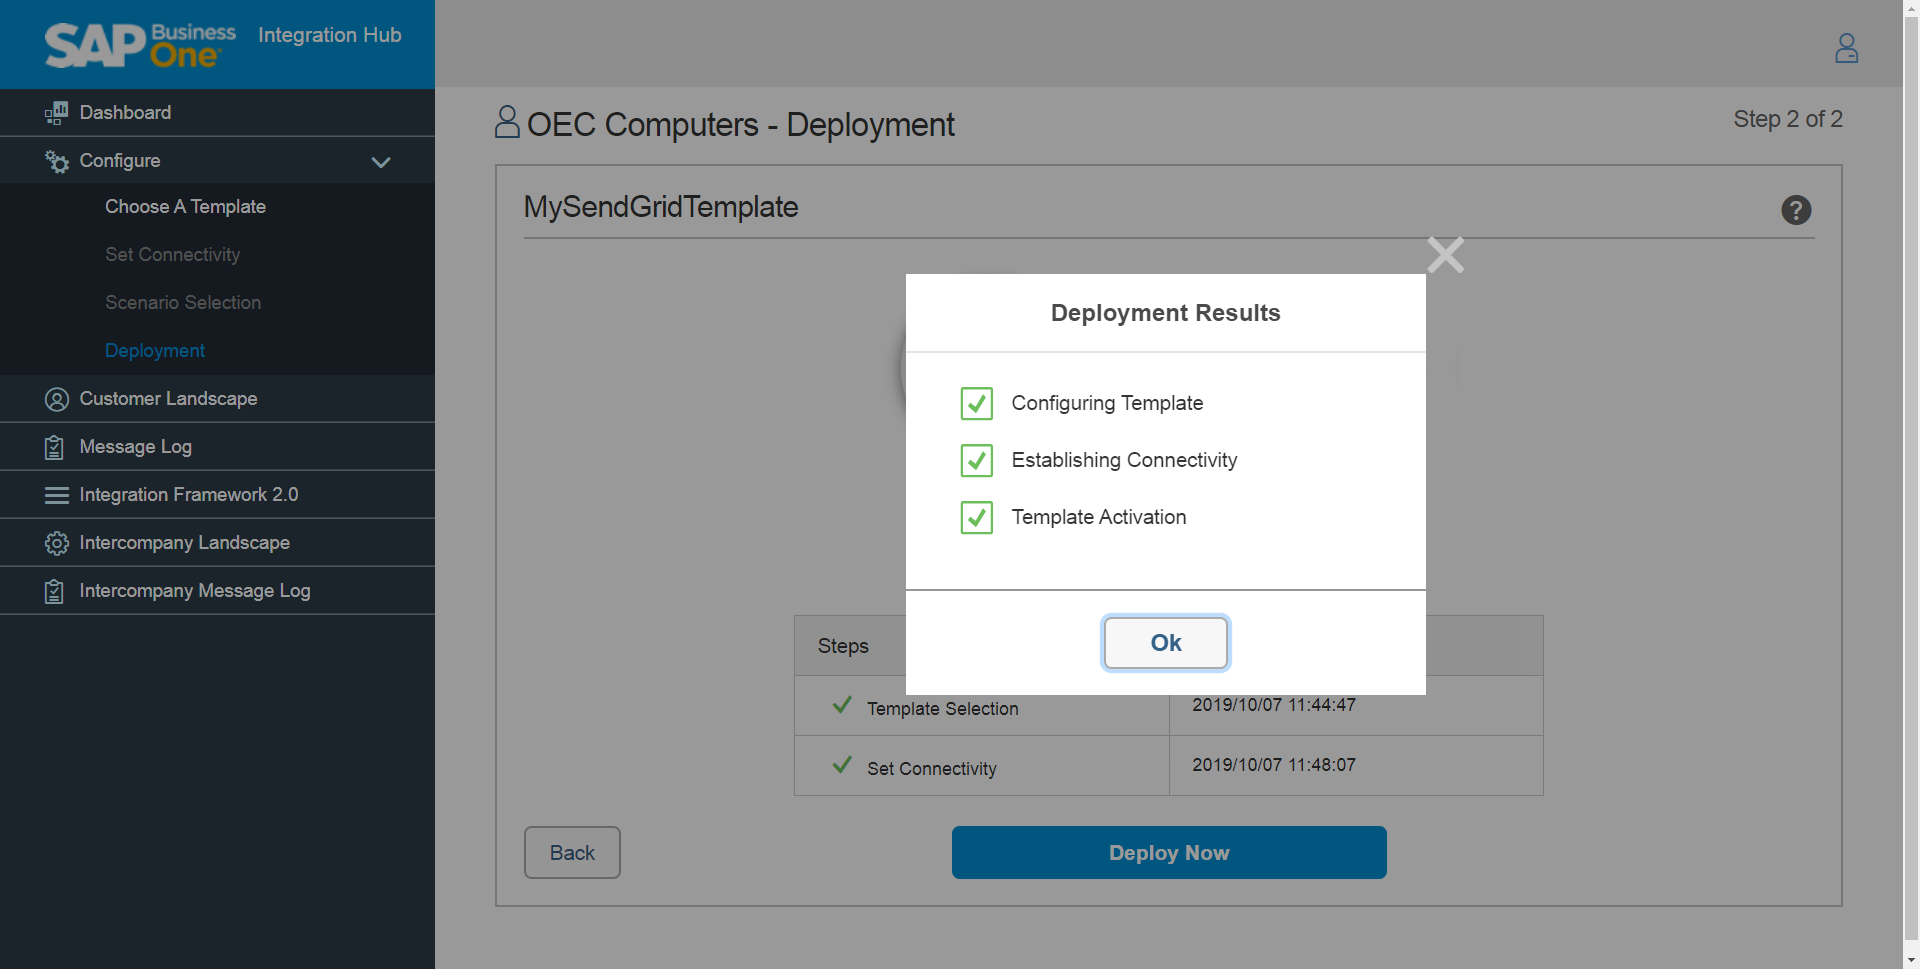 4. Once all stages are checked, click the OK button on the Deployment Results window to proceed. The successful deployment of solution in Integration Hub results in enabling the features in SAP Business One. Customer Landscape displays connection of SAP Business One to SendGrid.
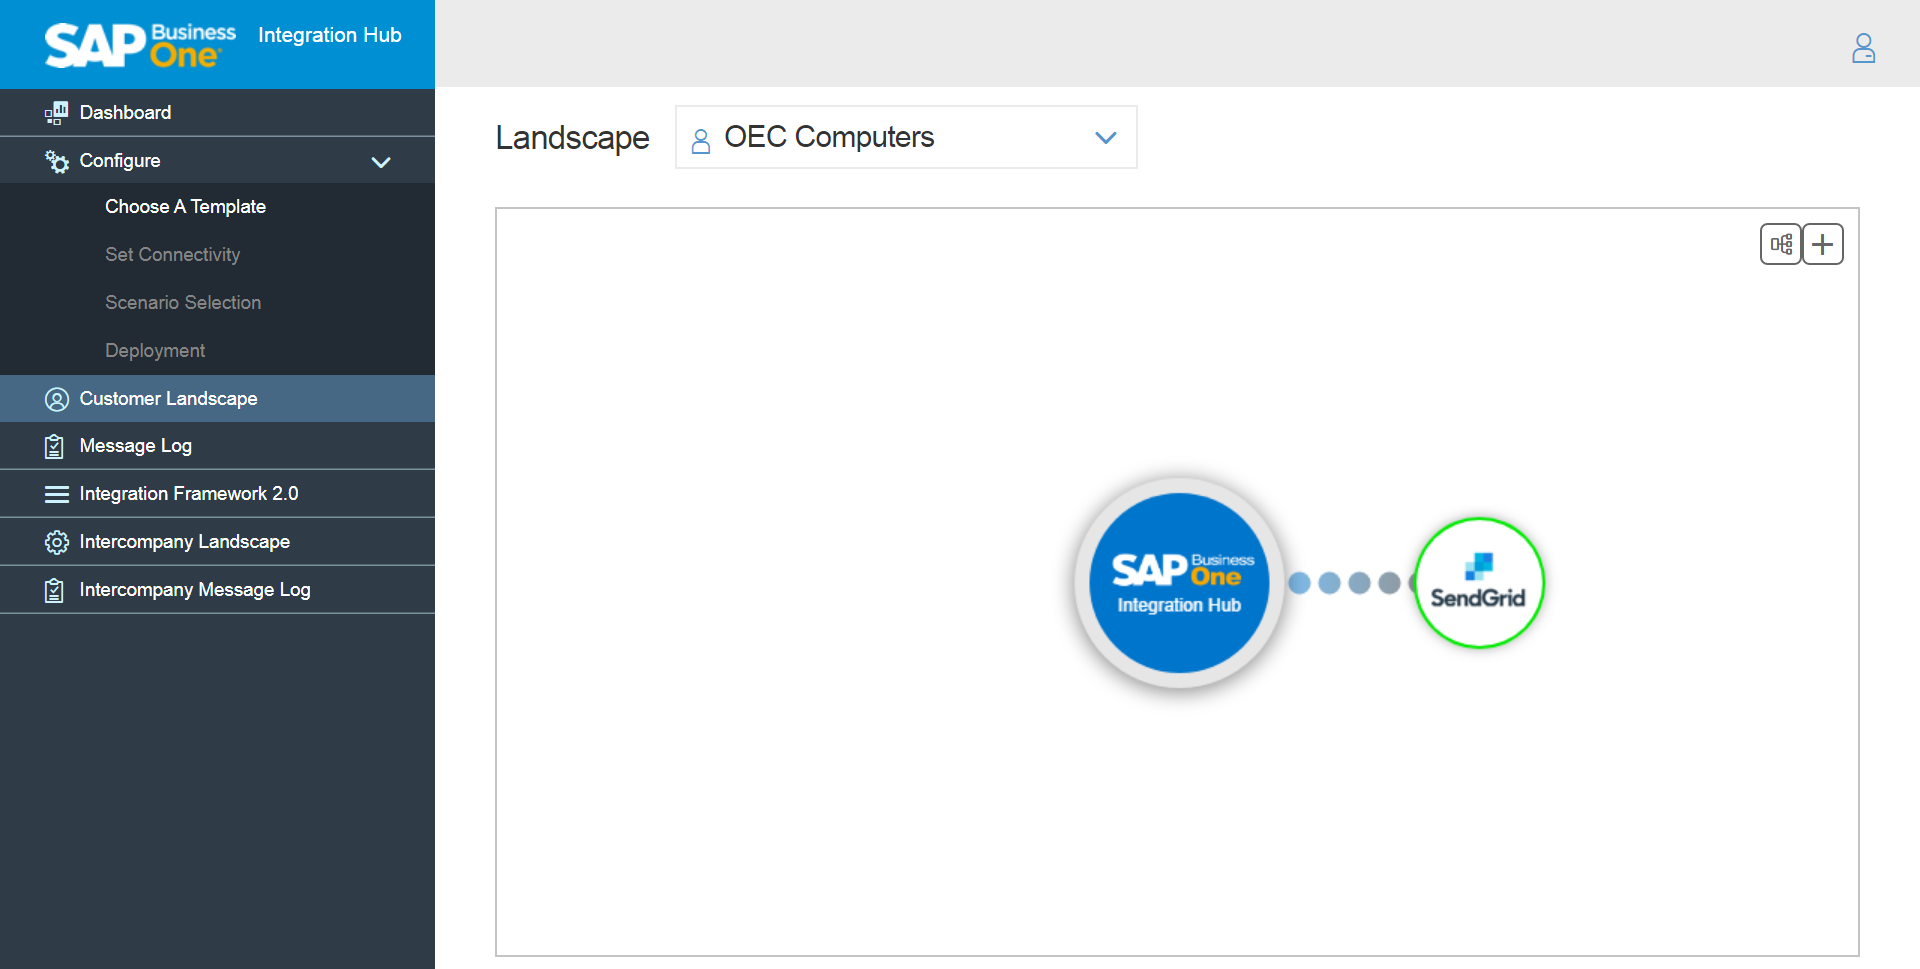 5. To modify the template after successful feature activation, right-click on the logo of the template.
6. Right-click on the SendGrid logo displays a window with the following fields:
Field Name
Description
View
Displays the Set Connectivity window in view mode.
Edit
Displays the Set Connectivity window in Edit mode.
De-activate
Deactivates the SendGrid deployment.
Deployment Status
Displays the deployment status with date and time.
Delete
Choose delete to delete the template. It is an Irreversible action.
Note
On deleting the template, the template will be marked as Inactive in SAP Business One feature activation window.
Manage Licenses
Choose Manage License to Activate/Deactivate the integration Hub License. For more information, see Managing the Integration Hub licenses knowledge article.
Related Articles
Setup in SAP Business One for SendGrid in the Integration Hub
To check the activation status, choose Administration → Integration Hub →Feature Activation. The Active field should be flagged. The Active checkbox enables for the feature deployed in the Integration Hub. If the flag is not set to active, then ...Step 1 – Set Connectivity of SendGrid in the Integration Hub
Choose the SAP Business One SLD to provide the connection between SAP Business One System Id and SendGrid Id. Note By default, the solution displays all the SAP Business One SLDs available in SLD Category selected during customer creation. To add ...SendGrid integration with SAP Business One
The integration between SendGrid and SAP Business One facilitates the manual E-mail notification, automatic E-mail notification based on print preferences, E-mail notification based on campaign generation wizard from SAP Business One. The Integration ...Business Partner Master Data Setup for SendGrid in the Integration Hub
In Business Partner Master Data window, a field Send Marketing Document Notification via HUB is available in the General tab. To open the Business Partner Master Data window, from the SAP Business One Main Menu, choose Business Partner --> Business ...Send Message Setup for SendGrid in the Integration Hub
In the Send Message window, a Send via HUB button is available. To open the Send Message window, open any marketing document and in the toolbar choose the SAP Business One Mailer icon. The Send Message window contains the following new fields: ...